

How to Clean a Flame Sensor: Fix Your Furnace Fast

Your furnace fires up, the burners ignite, and then three seconds later everything shuts down. The cycle repeats. You hear the click, see the glow, then silence. This is the most common symptom of a dirty flame sensor, and it is one of the easiest furnace problems you can fix yourself.
The flame sensor is a thin metal rod that sits in front of your burner flames. Its job is simple: prove to the control board that gas is actually burning so the furnace knows it is safe to keep the gas valve open. When the sensor gets coated with carbon buildup, it cannot read the flame properly. The control board assumes there is no flame, shuts off the gas valve as a safety measure, and your furnace short-cycles.
We see this problem constantly in Southeast Michigan homes, especially in older furnaces that run hard through our brutal winters. A furnace that cycles frequently builds up carbon faster. High humidity from Lake St. Clair and the Detroit River can accelerate corrosion on the sensor rod. The good news: cleaning a flame sensor takes about 15 minutes and requires no specialized tools.
If your furnace is acting up and you need professional furnace repair services in Metro Detroit, we are here to help. But if you want to try the fix yourself first, this guide walks you through exactly how to clean a flame sensor the right way.
What the Flame Sensor Actually Does in Your Furnace
The flame sensor is a safety device. Every modern gas furnace has one. When your thermostat calls for heat, the furnace goes through an ignition sequence: the draft inducer motor starts, the hot surface igniter glows red, the gas valve opens, and the burners light. The flame sensor sits right in the path of those flames.
The sensor works by detecting electrical conductivity. When flames surround the metal rod, they complete a tiny electrical circuit back to the control board. The board measures microamps of current. If it detects the right signal, it knows combustion is happening safely and keeps the gas valve open. If the signal is weak or absent, the board assumes there is no flame and shuts everything down within three seconds to prevent raw gas from entering your home.
This is why a dirty flame sensor causes short cycling. The flames are there, but the carbon buildup on the rod acts as an insulator. The control board cannot read the flame signal, so it kills the gas valve. The furnace cools down, tries again, and the cycle repeats.
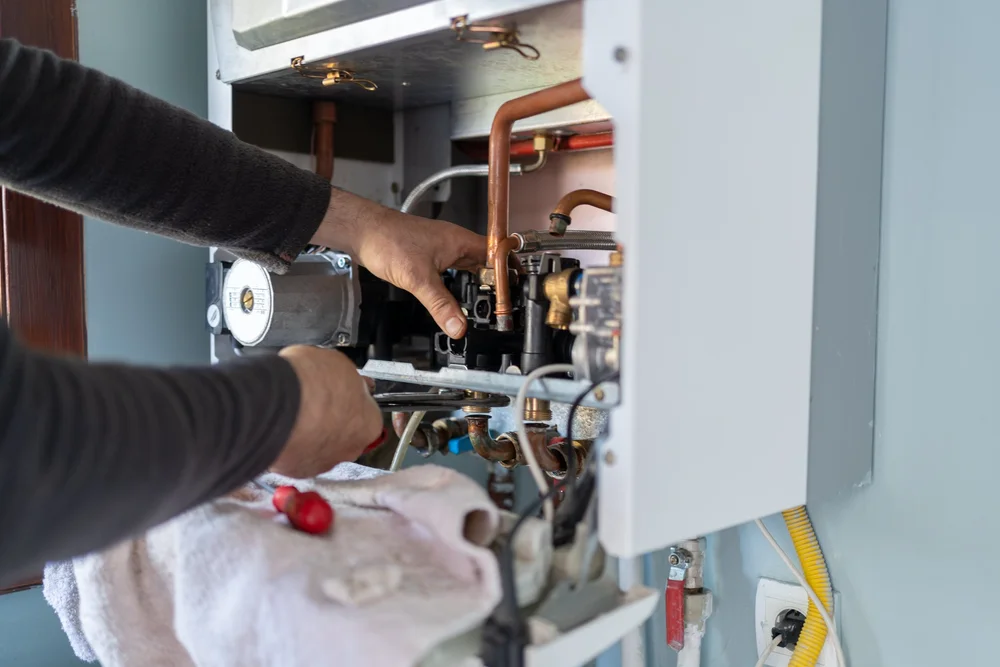
Most flame sensors are made of stainless steel or have a ceramic insulator. They are mounted with a single screw and have one or two wires connected. Carrier, Lennox, Trane, Rheem, Bryant, Goodman, Amana, and York furnaces all use similar flame sensor designs. The exact location varies, but the function is identical across brands.
Signs Your Flame Sensor Needs Cleaning
The classic symptom is short cycling during ignition. Your furnace starts, the burners light, and then the whole system shuts down after a few seconds. The blower may not even have time to start. You hear the igniter click, see the orange glow through the observation window, then everything goes dark.
Here are the specific signs that point to a dirty flame sensor:
- Furnace lights but shuts off after 3 to 5 seconds
- Burners ignite normally but will not stay lit
- Furnace tries to restart multiple times before giving up
- No heat reaching your home despite the furnace running through cycles
- Error code on the control board indicating flame sensor failure (common codes: 3 flashes on Carrier/Bryant, 3 blinks on Lennox, 33 on Trane)
This problem gets worse in Michigan homes during the coldest months. When your furnace runs constantly through a polar vortex event, carbon builds up faster. If you notice the issue starting in January or February after weeks of heavy use, the flame sensor is the first thing to check.
If your furnace will not start at all or you hear unusual noises, the problem may not be the flame sensor. Check out our guide on what to do when your furnace stops working for a broader troubleshooting checklist.
Tools and Materials You Need
You do not need a full toolbox for this job. Most homeowners already have everything required:
- 1/4-inch nut driver or small socket wrench (for the sensor mounting screw)
- Fine-grit emery cloth or a dollar bill (for cleaning the rod)
- Flashlight or work light
- Clean rag or paper towels
Do not use sandpaper, steel wool, or a wire brush. These materials are too abrasive and will scratch the sensor rod, which can make the problem worse. Emery cloth is the standard tool HVAC technicians use. It is fine enough to remove carbon without damaging the metal surface. If you do not have emery cloth, a dollar bill works surprisingly well because the paper fibers are abrasive enough to polish the rod without scratching it.
Safety note: Always turn off power to your furnace before working on it. Locate the power switch on or near the furnace and flip it to OFF. Alternatively, turn off the circuit breaker that controls your furnace. Gas furnaces use 120-volt power for controls and igniters, and you do not want to risk electrical shock.
Step-by-Step: How to Clean a Flame Sensor
Here is the process we follow on service calls when a flame sensor needs cleaning. You can do this yourself with basic tools and a little patience.
Step 1: Turn Off Power to the Furnace
Find the power switch on your furnace. It usually looks like a light switch and is mounted on the side of the unit or on a nearby wall. Flip it to the OFF position. If you cannot find a switch, go to your electrical panel and turn off the circuit breaker labeled for the furnace. Wait 30 seconds to let any residual power discharge.
Step 2: Remove the Furnace Access Panel
Most furnaces have a metal panel that covers the burner assembly. This panel typically slides up and out or is held in place by screws. Remove it to access the burners and flame sensor. You should see the burner tubes, the igniter, and the flame sensor rod positioned near the burners.
Step 3: Locate the Flame Sensor
The flame sensor is a thin metal rod, usually about 1/4 inch in diameter and 2 to 4 inches long. It is mounted with a single screw and positioned so it sits directly in the path of the burner flames. Look for a rod with one or two wires connected to it. The sensor may be on the left or right side of the burner assembly, depending on your furnace model.

Step 4: Disconnect and Remove the Sensor
Carefully disconnect the wire(s) from the flame sensor. Most sensors use a simple push-on connector that you can pull off by hand. If the connector is tight, gently wiggle it side to side while pulling. Do not yank on the wire itself.
Next, remove the mounting screw. This is usually a 1/4-inch hex head screw or a Phillips screw. Once the screw is out, gently pull the sensor straight out from the burner assembly. Be careful not to bend the rod.
Step 5: Clean the Sensor Rod with Emery Cloth
This is the critical step. Hold the sensor by the ceramic base or mounting bracket. Take your emery cloth or dollar bill and gently rub the metal rod. Use light pressure and rub in one direction, not in a circular motion. You want to remove all the carbon buildup and oxidation until the rod is shiny and smooth.
The carbon buildup usually appears as a black or gray coating on the rod. You may also see white or green corrosion, especially on older sensors. Remove all of it. The sensor should look clean and metallic when you are done.
Do not use anything more abrasive than emery cloth. Scratches on the sensor rod can create new surfaces for carbon to adhere to, which means the sensor will get dirty faster next time.
Step 6: Reinstall the Sensor
Slide the sensor back into its mounting bracket. Make sure it is positioned correctly so the rod will sit in the path of the burner flames. The exact position matters. If the sensor is too far from the flames, it will not detect them properly. If it is too close, it can overheat.
Tighten the mounting screw snugly, but do not overtighten. You are threading into a metal bracket, and cross-threading or stripping the hole is a common mistake. Hand-tight with a 1/4 turn is enough.
Reconnect the wire(s) to the sensor. Push the connector firmly onto the terminal until it clicks or seats fully.
Step 7: Replace the Access Panel and Restore Power
Reinstall the furnace access panel. Make sure it is seated properly. Many furnaces have a safety interlock switch that prevents operation if the panel is not in place.
Turn the power switch back on or flip the circuit breaker. Go to your thermostat and set it to call for heat. The furnace should go through its normal ignition sequence: draft inducer starts, igniter glows, gas valve opens, burners light, and this time the flames should stay lit. The blower should kick on after 30 to 60 seconds, and you should feel warm air coming from your vents.
Watch the furnace through one complete cycle to make sure it ignites and stays running. If it short-cycles again, the sensor may be cracked or the problem may be something else entirely.
Why Flame Sensors Fail in Michigan Furnaces
Carbon buildup is the primary reason flame sensors fail, but Michigan's climate accelerates the problem. Furnaces in Southeast Michigan run harder and longer than furnaces in most other parts of the country. When outdoor temperatures drop below zero during a polar vortex, your furnace may run 18 to 20 hours a day. That is a lot of combustion cycles, and each cycle deposits a thin layer of carbon on the flame sensor.
Humidity is another factor. Homes near Lake St. Clair, the Detroit River, or any of the smaller lakes in Macomb and Oakland counties deal with higher indoor humidity during winter. When warm, moist air from your home contacts cold metal surfaces inside the furnace, condensation forms. That moisture can cause corrosion on the flame sensor rod, which interferes with conductivity just like carbon buildup.
Older furnaces are more prone to flame sensor problems. A furnace that is 15 or 20 years old has been through hundreds of heating seasons. The sensor rod may be pitted or corroded beyond what cleaning can fix. If you are dealing with frequent sensor failures in an older furnace, it may be time to consider a replacement. Our guide on choosing the right furnace for Michigan homes covers what to look for in a new system.
Dirty air filters also contribute to flame sensor problems. When your filter is clogged, airflow through the heat exchanger decreases. The burners run hotter, which accelerates carbon formation. This is why we always recommend checking your filter if you are having flame sensor issues. Learn more about how often to change your furnace filter in Michigan.
When DIY Cleaning Is Not Enough
Cleaning the flame sensor fixes the problem in about 80 percent of cases. But sometimes the issue is deeper. Here is when you need to call a professional:
- The sensor rod is cracked or broken. This happens occasionally on older furnaces. A cracked sensor cannot be repaired and must be replaced.
- The sensor gets dirty again within a few weeks. Frequent carbon buildup indicates a combustion problem. The air-to-fuel ratio may be off, or the burners may need cleaning.
- The furnace still short-cycles after cleaning the sensor. If cleaning does not fix the problem, the issue may be the control board, gas valve, or pressure switch.
- You see soot buildup inside the furnace. Heavy soot means incomplete combustion, which is a safety hazard and requires professional diagnosis.
- The furnace produces a yellow or orange flame instead of blue. Gas flames should burn blue. Yellow or orange indicates improper combustion and possible carbon monoxide production.
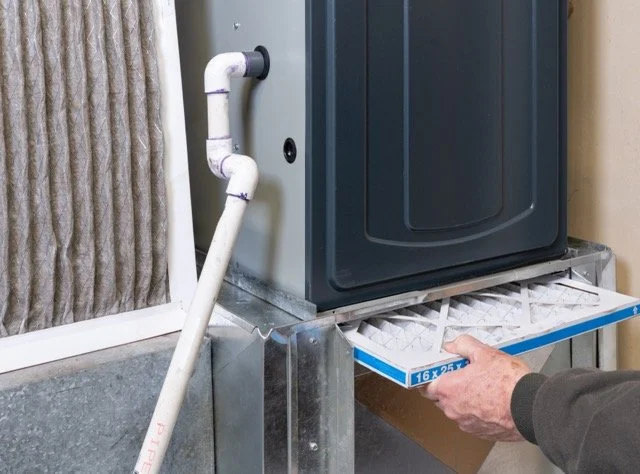
If you are dealing with any of these issues, it is time to call a licensed HVAC contractor in Metro Detroit. Our NATE-certified technicians can diagnose combustion problems, test gas pressures, and make sure your furnace is operating safely.
We also see flame sensor problems tied to bigger issues like cracked heat exchangers or failed control boards. If your furnace is showing other symptoms like strange noises or no airflow, check out our article on why your furnace has no airflow.
Cost Reality: Sensor Cleaning vs Replacement
If you clean the flame sensor yourself, the cost is essentially zero. You may need to buy emery cloth if you do not have any, which costs about $3 at a hardware store. Total time investment is 15 to 20 minutes.
If you call a professional to clean the sensor, expect to pay a service call fee plus labor. In Southeast Michigan, most HVAC companies charge $100 to $150 for a service call that includes flame sensor cleaning. Some companies waive the service call fee if you are already enrolled in a maintenance plan.
Replacing a flame sensor costs more because you are paying for the part plus labor. A new flame sensor typically costs $30 to $60 for the part. With labor, total cost runs $150 to $250. The good news is that flame sensor replacement is a quick job. A technician can swap out a sensor in about 20 minutes.
The best way to avoid flame sensor problems altogether is preventive maintenance. Our Next Care Plan costs $5 per month and includes two annual home visits: a fall furnace tune-up and a spring AC tune-up. During the furnace tune-up, we clean the flame sensor as part of the standard service. We also check combustion, test gas pressures, and make sure your furnace is ready for Michigan winter.
Preventive maintenance catches problems before they leave you without heat on the coldest night of the year. Customers on the Next Care Plan get priority scheduling, 10 percent off repairs, and no service call fees. Over the life of your furnace, that adds up to significant savings compared to paying for emergency repairs.
Ready to Get Started?
NEXT Heating & Cooling has been keeping Michigan homes comfortable for over 35 years. Get honest diagnostics and fair pricing from NATE-certified technicians who show up on time.
Schedule Your Service